

Out of all our Christmas fabric ranges this year my favourite is without doubt Christmas Wish from Dashwood Studios. The gorgeous palette of icy blue, soft green, Christmassy red and warm cream is bright and jolly without being garish. A classic festive combination but with a stylish modern slant.
I loved making the sample of the advent calendar to display in the shop but I felt that the instructions provided were a teensy bit confusing in places. To help solve any uncertainties I decided to photograph every step (yes EVERY step) and create an online tutorial for people to follow.
Be warned this post is very "photo heavy" but I think that makes all the difference in a good tutorial.
Materials:
*Christmas Wish Advent Calendar panel (£8.50 from The Sewing Shop)
* fat 1/4 backing fabric - I chose Xmas 1046 Gingerbread from the same range (£14 per metre from The Sewing Shop)
*wadding - I used Sew Simple Supersoft cotton (£14.30 per metre from The Sewing Shop)
*1/4 metre binding fabric - I chose Xmas 1047 Snowflakes also from the Christmas Wish range (£14 per metre from The Sewing Shop)
matching machine sewing thread
A kit is available for £18.95 plus £3.50 P & P. Please ring 01543 253780 for details or to place an order.
Process:
1. Cut out the back panel around the outer edge of the green seam allowance.
2. Cut out the pocket strips around the outer edge of the ecru seam allowance.
3. Press over the seam allowance at the top edge of each pocket strip and top stitch. With hindsight I wish I had folded the edge over twice and done a much neater hem rather than just folding once. However, the raw edge is inside so it isn't seen.
 |
| Reverse of pocket hem. |
 |
| Front of pocket showing top stitching. |
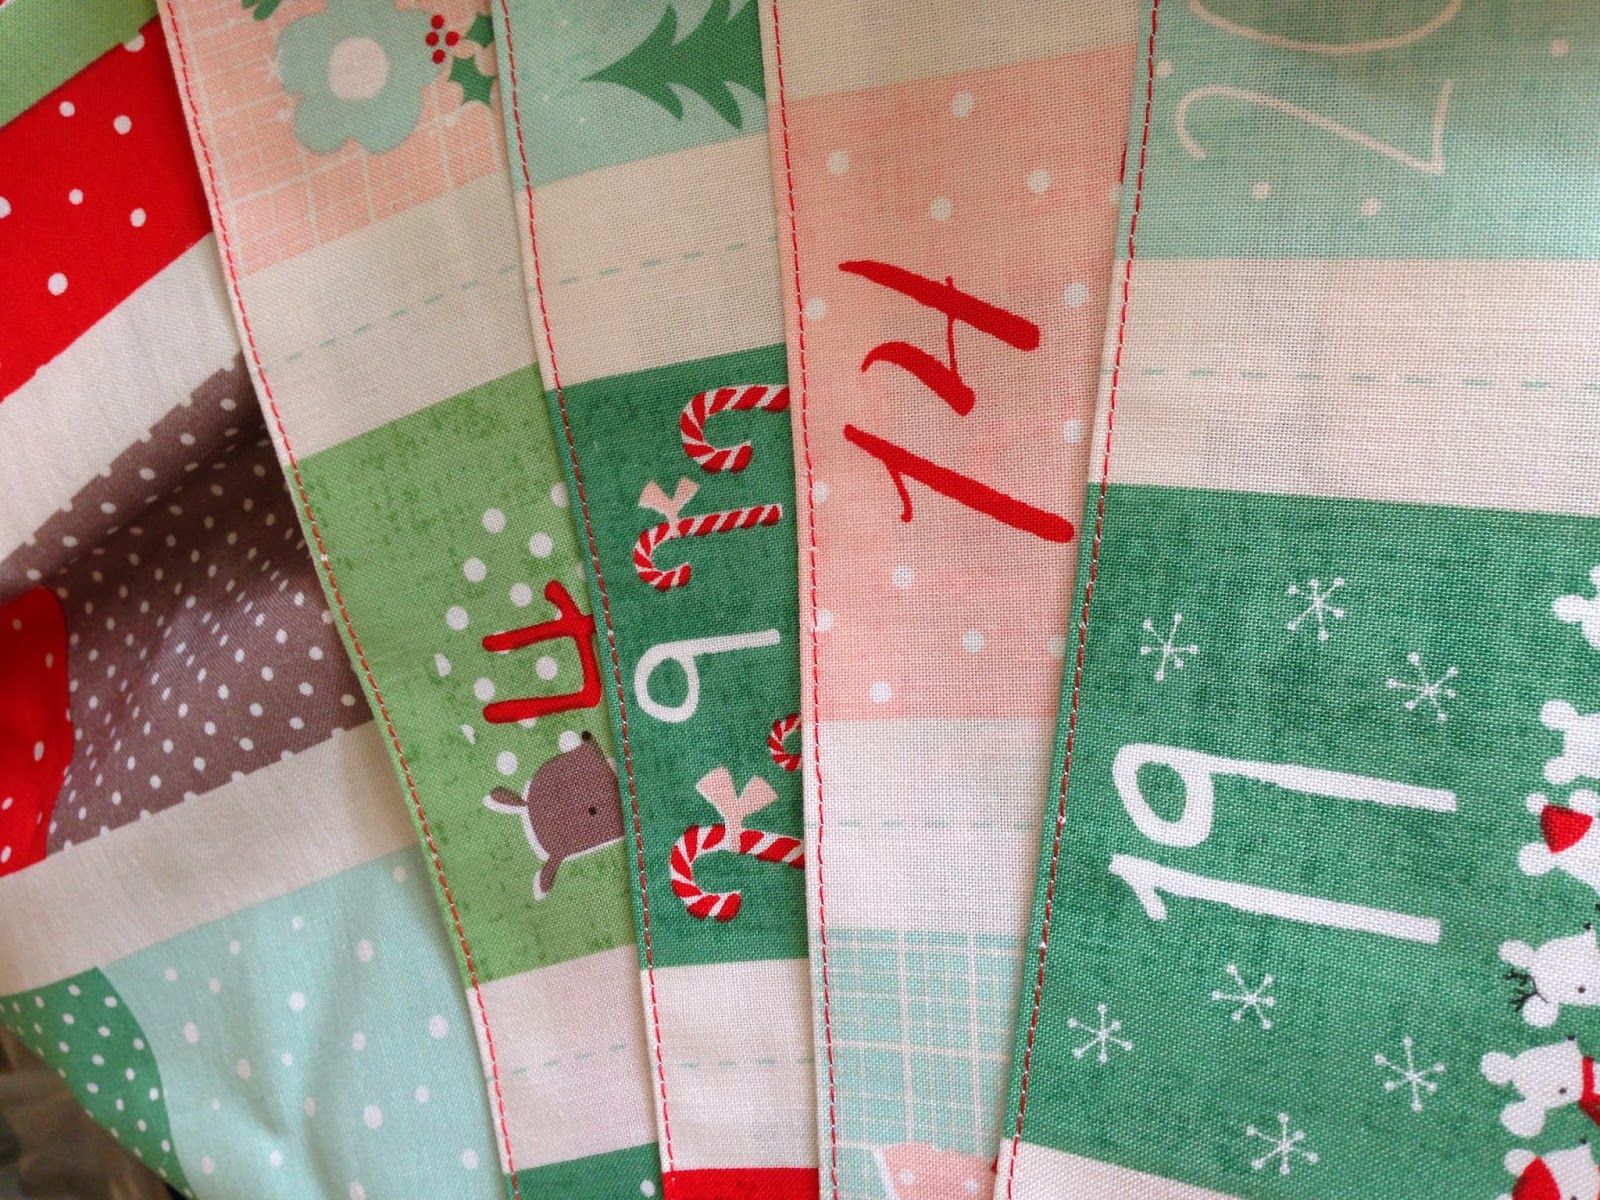 |
| All the pocket strips hemmed and top stitched |
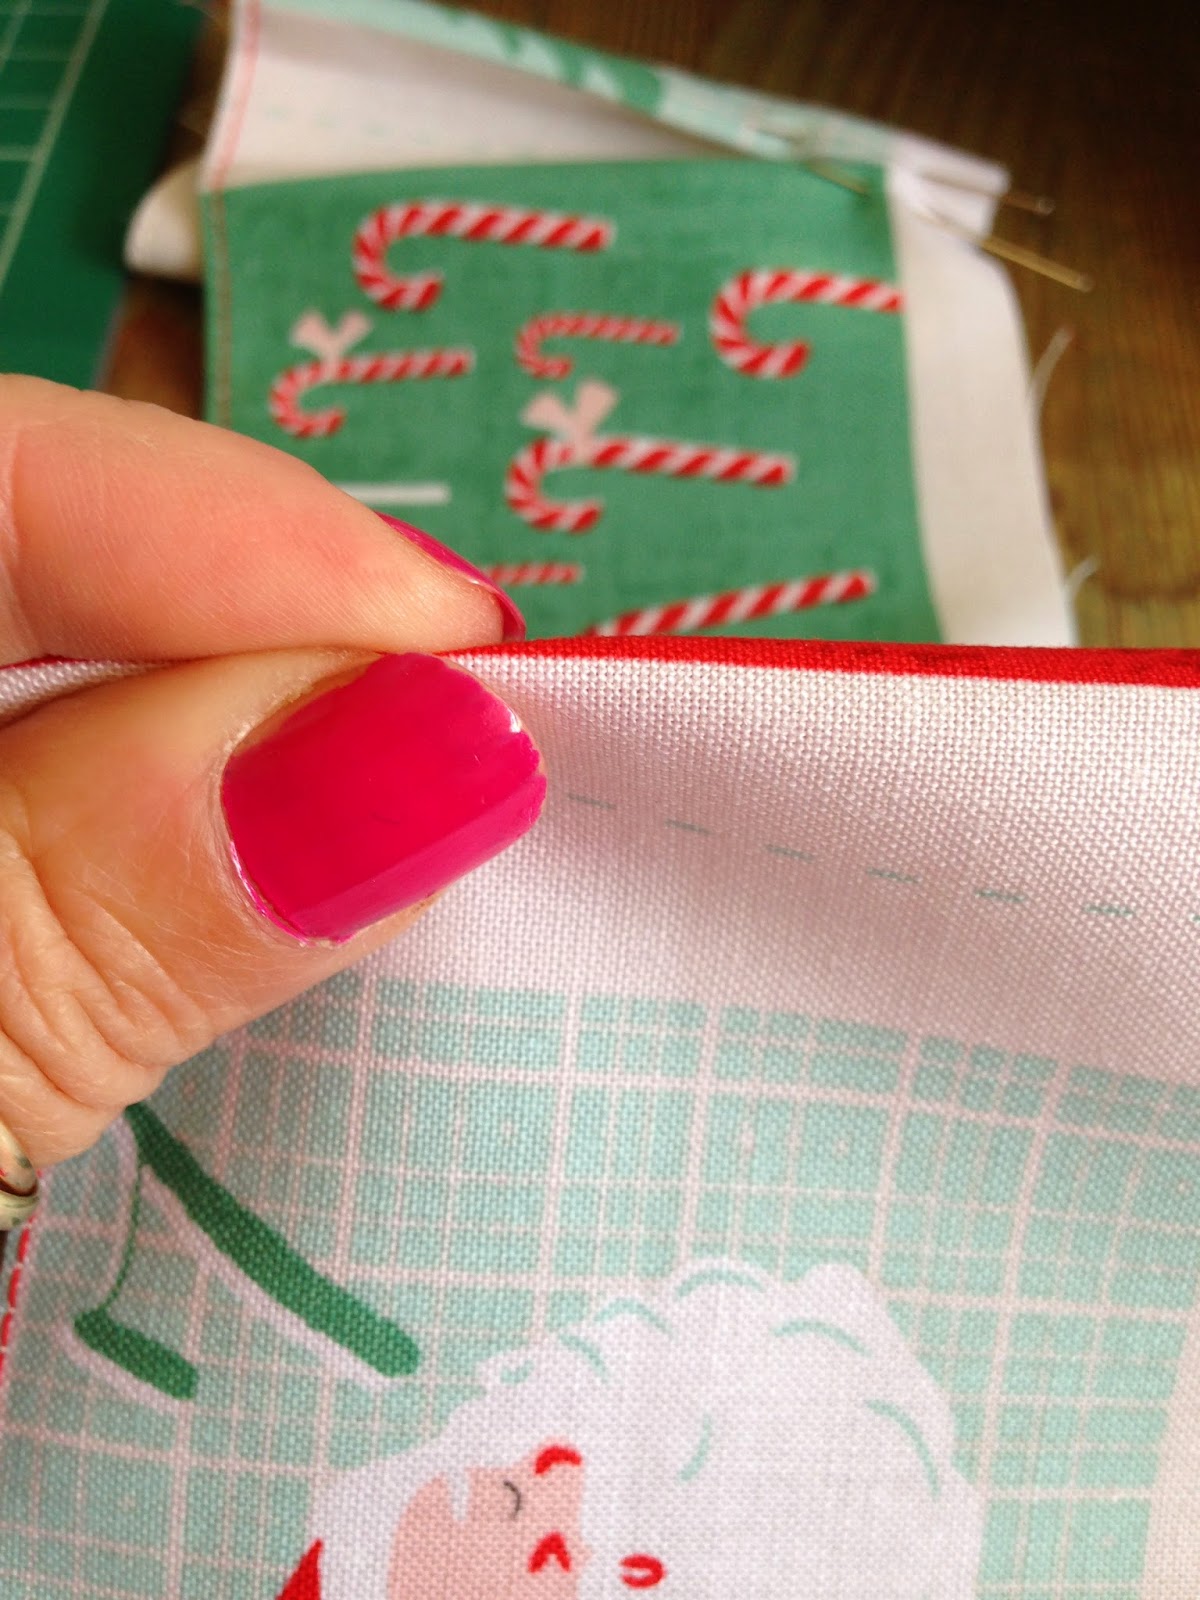
4. Now comes the fiddly bit - making the pleats to create the gusseted pockets. I found the best thing was to do lots of pressing - time consuming but worth it in the end.
 |
| Finger-pressing pocket creases |
I finger-pressed but only because I was too idle to keep going downstairs to my ironing board or to carry my sewing machine downstairs. Press the edges of the pocket pictures and fold the creased edges in together to meet on the dotted line.
I did one side at a time, pinned it in place against the dotted line, then brought the other edge in to meet it and pinned that too.
 |
| First pocket edge meets dotted line |
 |
| Second creased edge meets first on dotted line |
 |
| Both edges pinned in place on dotted line |
Repeat this for all the pockets on every pocket strip. That's a lot of pins! I just pinned at the bottom edge of each pocket as that is the part that will be sewn. However, I did give each strip a final press to ensure the pockets met on the dotted line from top to bottom.
Now it's time to stitch those pleats in place. Use a standard stitch length and stitch all the way along, just inside the bottom seam allowance.
 |
| Stitching pleats in place. |
 |
| Sew just below the pockets in the seam allowance |
5. Press the side and bottom seam allowances of each pocket strip.
 |
| Press bottom seam allowance of each pocket strip |
 |
| Press side seam allowance of each pocket strip |
6. Pin each pocket strip in place on the back panel. Line up the dotted lines with the squares on the backing.
 |
| Pin pocket strips onto the backing |
 |
| Align dotted line with squares on backing |
Then pin the outer and bottom edges of each pocket strip to the backing panel too.
7. Layer the panel with a piece of wadding and your chosen coordinating backing fabric to create a quilt sandwich. This will give the finished calendar some body and stop it being too floppy to hang nicely.
 |
| Layering up the quilt sandwich |
8. Now stitch the pocket strips to the backing, also sewing through the wadding and backing. In this way you are quilting the calendar at the same time as stitching the pockets in place.
I found it easier to stitch between the pleats of the pockets first. Pin the pleats apart as shown while you stitch down between them. Start in the centre and stitch from top to bottom. Repeat for each row.
 |
| Machine stitching between the pleats |
Finally top stitch around the outer edges of each pocket strip - down one short side, across the bottom of all the pockets then up the other short side. Repeat for each pocket strip.
 |
| Top stitching the pocket strips |
 |
| Hanging sleeve on the back of the calendar |
If you wish to add more quilting now is your chance. I just worked and extra row all the way around as seen in the photo. You could also add embellishments such as beads, buttons and other trims.
 |
| Extra row of quilting |
 |
| Extra quilting around the edge |
When you are happy, square up your calendar using a rotary cutter and grid ruler. Trim through all layers of the panel along the edge of the green seam allowance.
 |
| Trim the excess fabric and wadding |
 |
| Squaring up the quilted panel |
Now it's time to bind the calendar. I cut my binding fabric into 2 1/2" strips, folded and pressed them in half lengthways. I attached the strips by machine from the front then flipped them over to the back and stitched by hand to give a neat finish.
 |
| Binding with 1/4" seam allowance |
 |
| Flipping binding over to the back ready for hand stitching. |
And that's it! You're done. One advent calendar ready to be filled with festive treats for a lucky child - big or small - on December 1st.
